Installing a Door Vent
- Chris Taylor
- Jan 7, 2024
- 2 min read
If you have ducted air conditioning, a door vent is a good idea for closed rooms - otherwise you trap hot or cold air in the room with the door closed. Ideally, the air needs to circulate all the way back to the large, noisy inlet vent in the ceiling - the inlet vent is normally in a hallway. It will also significantly improve the efficiency of your air conditioning. If a room has ducted air conditioning, you want to use the air conditioner in that room, you use that room almost daily and you want to keep the door shut most of the time (sounds like a bedroom or office, doesn't it? 😉) then definitely consider a vent in the door.
You will need:
Screwdriver
Needle tweezers, thin nail or similar (to clean the paint out of the door screws)
Ruler at least 500 mm long or measuring tape
Set square (optional)
Drill with 10 mm (or bigger) drill bit
Keyhole saw (if using crosscut saw)
Crosscut saw (more accurate) or jigsaw (faster)
Wood glue or similar (just in case)
Clamps (just in case)
Wood file
Unhinging
Cutting the Hole
Next, measure up and mark the hole size with a pencil, following the instructions for the vent. Consider a set square but a ruler or measuring tape would be fine - the tolerances for the vent are often in the order of 10-20 mm because of the flange.

Drill a hole at least 10 mm diameter where the vent will go, ideally in a corner. Skip this step if you're enlarging an existing hole.
Use a keyhole saw to start cutting, until you can fit the crosscut saw. Try and use them at a 45 degree angle if possible to prevent bending and snapping of the thin wood panels. If using a jigsaw, all I can say is be careful not to let the wood panels snap if you can. Perhaps use a finer blade. Using either the an unpowered or a powered saw, curve the cuts into the corners before coming back to finish.
Repairing (if you're unlucky)
Unfortunately, I used the rough cut blade and ended up snapping the back panel in two places. To fix that, glue the piece back on. Make it fit as well as you reasonably can, but don't worry too much because we'll sand it later. Clamp it on until the glue achieves its strength, which may be a day (sounds more poetic than 'can take 24 hours'). Do similar with cracks.

Next, sand any irregularities.

Next, paint the door but if possible, don't put it back on the hinges just yet.
Fitting the Vent
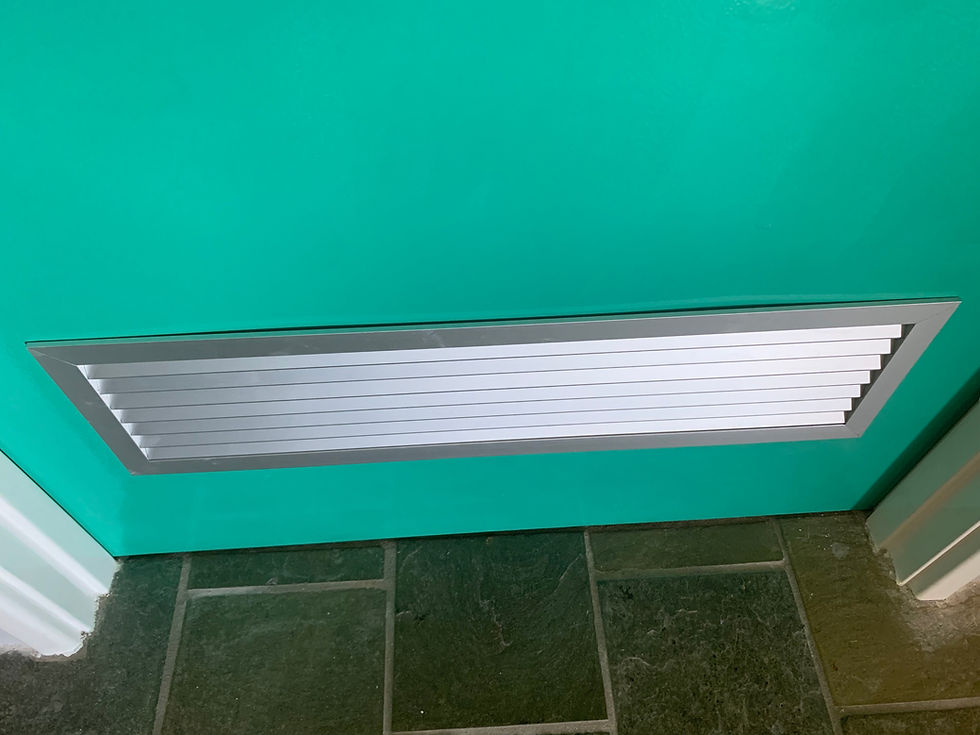
Follow the manufacturer's instructions and fit the vent on. In our case, we got a clip on vent. If you had to put the door back on its hinges, you may need to put something behind to hold the back in place.
Make sure the hole is big enough to COMFORTABLY put the vent on (by filing or sawing) or there will be a big ugly gap between the flange and the door, like this:
Re-Hinging
Enjoy your moderately air conditioned room and lower power bills! 😃
Comments