Special Effects - Removing Video Background Using Unscreen and Resizing It
- Chris Taylor
- Jan 29, 2023
- 2 min read
Updated: Sep 1, 2023
It is possible to record a video then remove the background using a program capable of AI. This is incredibly useful for using a custom background as special effects. You can even resize/shrink the object to achieve something imaginative.
There are many programs both online and as downloaded applications that can remove background from video, each with their own pros and cons. This post describes how to use Unscreen, which is free if you only want five seconds of video (perfect for an animated GIF or to have fun/try out). You can then resize the output animated GIF using GNU Image Manipulation Program (GIMP), also included in this post.
Remove Background
You may need to clip the video to 5 seconds, or at least the start. Upload the video to Unscreen.

Download the animated GIF. That's it! Notice if there are things that look like they could be foreground objects (like my bed or even a calendar on the wall) they can confuse Unscreen.

Resize
Since that was so easy, I'm also going to describe how to resize the clip so you can do cool things like zoom in, zoom out and move the object in iMovie (may be applicable to other video editing applications too).
Open the GIF in GIMP. It may look a bit odd, but don't worry.

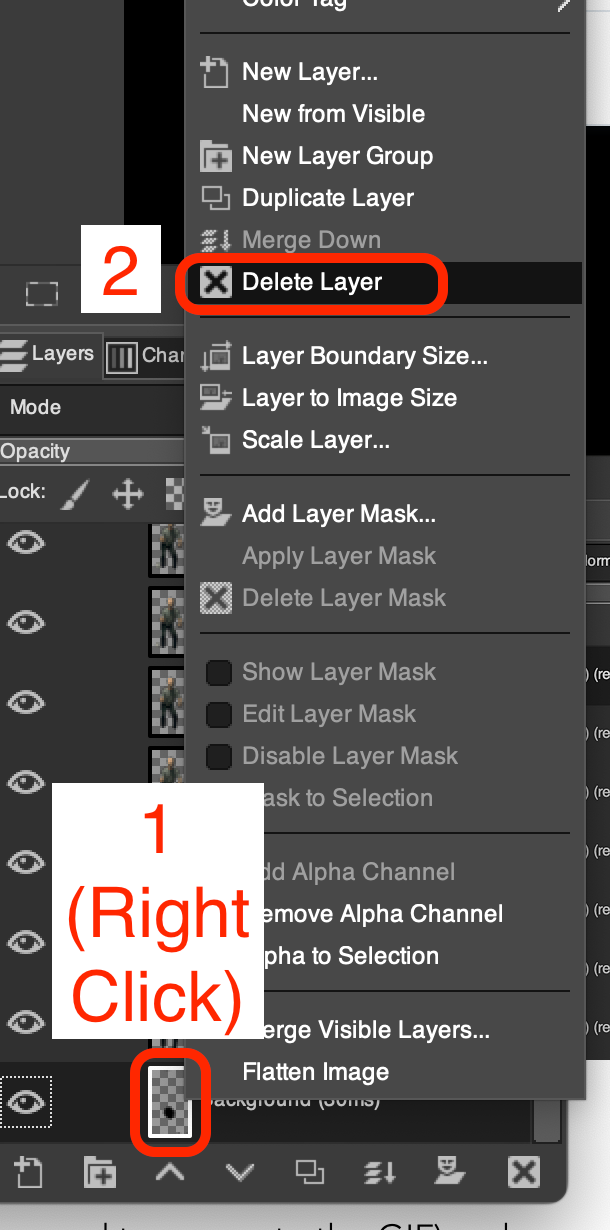
Sometimes Unscreen (or whatever program you used to generate the GIF) makes a strange frame. That can be deleted and now is probably a good time.
We can even edit each frame however we like - just make sure to merge any layers you add so that 1 layer = 1 frame.
Once we are happy the frames/layers contain what we want, we can resize. In the menu bar go to Image -> Canvas Size.
Depending on how far you want to move the object in your movie and how much you want to zoom it in/out, make the canvas size 2-5 times what is there. The larger you expand the canvas, the more you can move it and zoom it, but the trickier it can be to fine tune in iMovie. If you want the same multiplier for both, click the chain link.

Move the object to about where you expect it to be when it is the most zoomed out. This may or may not be the centre.

Make sure we are resizing all layers and filling with transparency.
Click Resize.

Choose from the menu File -> Export As.
It should default as GIF, if not change the filename extension to .gif (the bit on the end of the file name).
Choose a location and click Export. To be sure, use a different filename to the one from Unscreen.

In the next dialog, make sure it is going to make an animation before clicking Export.

That's it! You can now use the animated GIF in your movie project to effectively add an animated object.

Comments